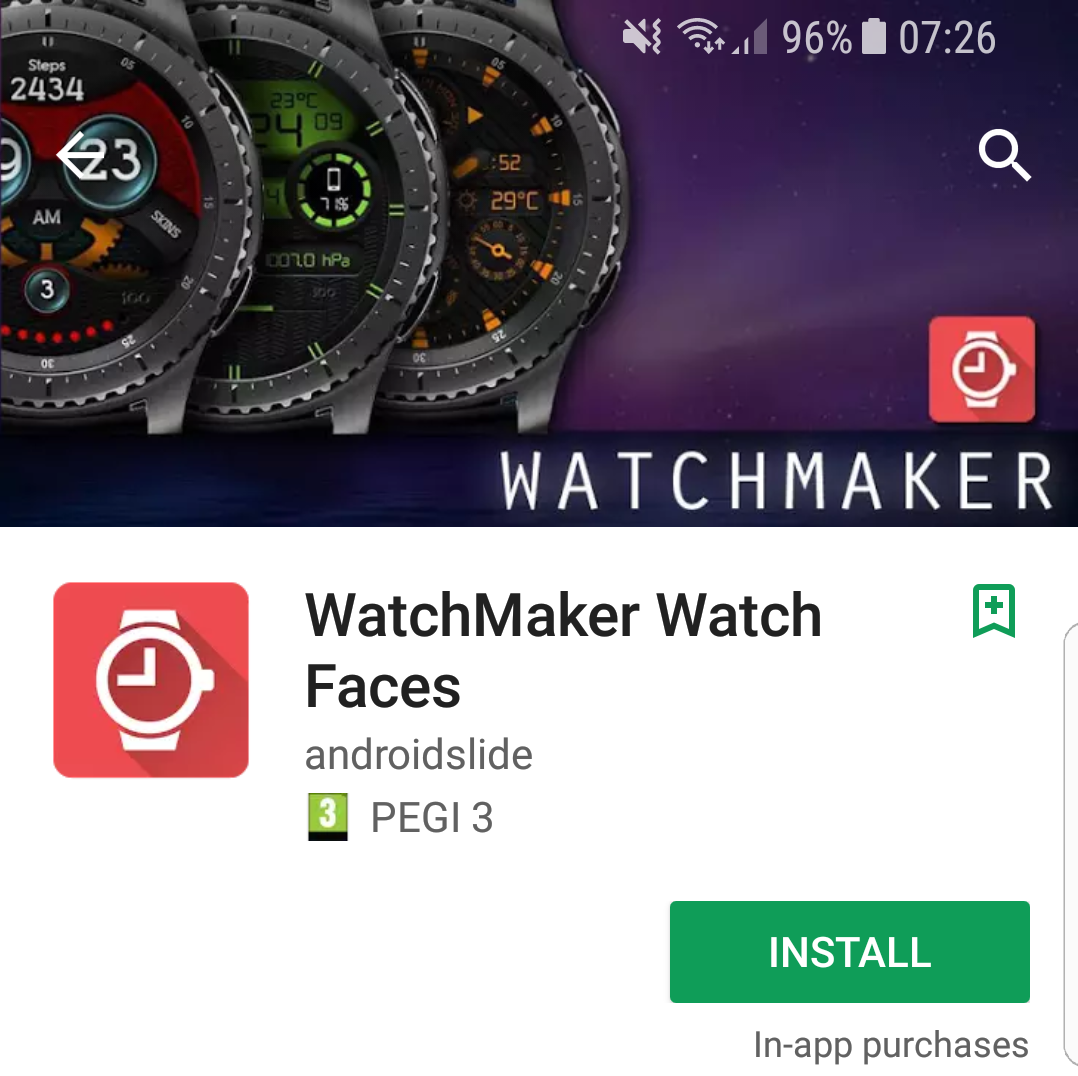
- Download the WatchMaker Watch Faces app from Google Play. There is a free trial version, which we recommend you try first to see if it’s what you’re looking for, but if you decide to stick with it and unlock all the features you’ll want to purchase the premium version for £2.99.
The premium version unlocks 40,000 watch faces with 50 new faces added every day; the ability to use your own photos and images; more widgets; more fonts; animated GIFs, and more. 2. Launch the app, accept the permissions, then choose your smartwatch from the list. We’ve selected the Huawei Watch 2. You’ll be prompted to install the companion app on your watch.
Now you’re ready to get creative. From the main screen tap the watch icon with a + symbol at the top right corner. This will open a new ‘Untitled watch’ – tap the pencil icon to give it a more appropriate name and begin customising it.
To start adding items to your watch face click the large + sign below the preview. We recommend you start with a background image, assuming you want one, so select Image on the next screen. You’ll be prompted to unlock the Premium version to do this – you can continue experimenting with the free version, but if you decide to use this you’ll need to purchase the app. Now browse to and select the photo you’d like to use in your Gallery.
It’s unlikely that the image is going to be an exact fit for your watch face, so you’ll want to zoom in on the picture to fill all the available space. Scroll down and play around with the Width and Height parameters until it fits. You can also use controls here to move items around onscreen, which may be preferable to dragging them with your finger if you’d like to keep everything central.
The next most important thing for a watch face is the time. Tap the + icon below the preview and this time select Time from the menu. It will place onscreen a digital clock. Once again use the settings below to resize and move around the text. Depending on your background image you may also want to change the text colour and font in order to make it easier to read at a glance.
We’ve also added a date to our watch face, which is available when you tap the + icon and choose Date from the menu. Use the same controls to adjust its size, colour, position and font.
You’ll find various options in the menu for items you can add, from Wi-Fi signals to battery meters and a countdown clock. A lot more functionality is available in the Expression menu, where you’ll find options to add local weather, a seconds clock and so on. Have a play around, and if you change your mind about adding a particular item just tap and hold it under the preview window and click the cross that appears to remove.
When you’ve finished creating your watch face, preview it on your smartwatch. Scroll along the various icons now appearing under the preview window to the far right, then tap the icon depicting a watch with an arrow.
Also see: How to sideload any app on to Android Wear Marie is Editor in Chief of Tech Advisor and Macworld. A Journalism graduate from the London College of Printing, she’s worked in tech media for more than 17 years, managing our English language, French and Spanish consumer editorial teams and leading on content strategy through Foundry’s transition from print, to digital, to online - and beyond.


