That said, we had zero issues here, and our machine went together without issue. It’s actually very strong and rigid thanks to its all metal build, and a combination of V-Slot aluminium extrusions and wheels make for smooth action that reduces noise and ensures good print quality. Creality claims it tests all models for 24 hours before delivery and offers a one-year warranty, too. We don’t mean to put you off, because the Ender 3 truly is a fantastic budget 3D printer. Critics who have been messing around with 3D printing much longer than we have put it right up there with the best budget models, and some say it’s replaced machines costing closer to £1000. You should also factor in the cost of filament, and a 1kg reel of 1.75mm PLA will set you back around £15-£20, but you can pay more for better-quality material. For most of our tests we used CCTREE filament (£18.66 for 1kg) which was provided for us by GearBest. A 1kg reel at this size is around 335m in length.
Setup
Be warned that this is a DIY kit, which means you will need to assemble some parts of the printer before you can begin. The base is pre-built, but you’ll need to hook up the frame, power supply and reassuringly thick cables, control panel and various components before you can begin. That might scare off some beginners, but it shouldn’t – there are plenty of video guides on YouTube to help you set it up. The Ender 3 is also supplied with instructions, though they’re not brilliant so we recommend using the videos to supplement this.
It’s not quite the 10 minutes quoted by the manufacturer, but all in all assembly will likely take a novice user around an hour, two at most. Pleasingly you’ll find several spare parts (all clearly labelled) and all the necessary tools in the box, along with some extras such as a metal spatula, pair of cutters and a nozzle cleaner.
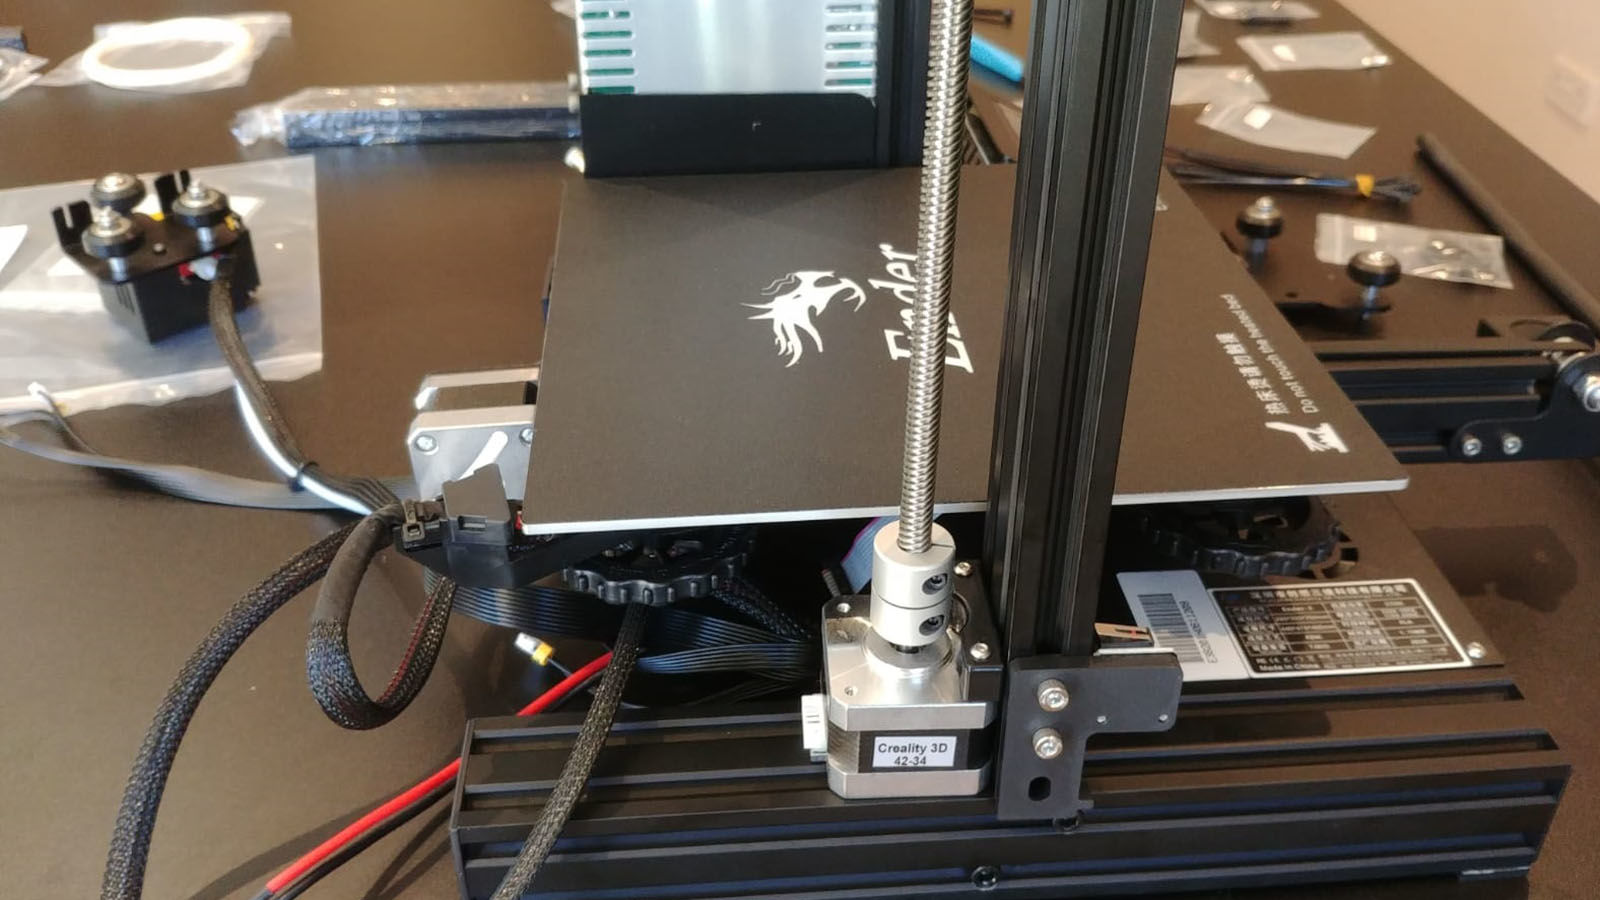
Once assembled the Ender 3 will require some testing to ensure you’ve got everything just right. It takes around five minutes to heat up before you can start. There’s a test dog G-Code on the microSD card supplied with the printer, but not enough sample filament to print the whole thing. It took us a while to realise the nozzle was happily moving side to side but not up and down, but this was an easy fix when we realised we’d simply over-tightened the screws on the extruder rod.
You’ll need to manually level the Ender 3’s print bed using the four oversized wheels found on the underside of each corner. These make for relatively easy adjustments, provided you’ve positioned the printer somewhere you can access each wheel, but you’ll need to do so more frequently than you’d probably like. It’s too easy to knock it out of line when prising off prints from the bed.
That’s because PLA sticks surprisingly well to the Ender 3, which prevents you getting a load of messed up prints, but it does make life more difficult once your print is complete. After a few test runs we resorted to applying ScotchBlue Painter’s Tape to the bed, which we needed to wrap right under and ensure it was stuck down tight to prevent it peeling up mid-print. This is not a criticism in any sense: getting prints to stick to the bed is a common problem in 3D printing. Levelling is reasonably easy, though: you just stick a sheet of A4 paper on the bed and turn each wheel so the nozzle lightly scratches the paper.
Getting started with 3D printing
You’ll notice that the tone of this review is very different to what you might have read on hobbyist sites, and there’s a reason for this: Tech Advisor speaks to general tech consumers. The whole point is that the Ender 3 is affordable and accessible enough to be used by anyone, at home, to start creating amazing 3D prints. It’s not one of those gadgets reserved purely for those with the know-how. Beginners should know that you don’t need to know how to create 3D models to get started with 3D printing at home. Sites such as Thingiverse have huge databases of 3D models that you can download for free, and many of them can be customised without breaking the terms of the Creative Commons licences under which they are provided.
We used TinkerCad, a free online service, to personalise some of those prints with text, and found it incredibly straightforward. 3D printing is only as complex as you make it.
Thingiverse offers model files in STL format, and you then use free software such as Cura to scale them, set the quality and slice them, converting the STL to printing instructions that the Ender 3 can process. A copy of Cura is included on the microSD card supplied with the Ender 3, but we recommend instead downloading the latest version direct from the website (it’s free). You’ll need to do this anyway if you’re running anything other than a Windows machine.
For our first model we chose a melted Darth Vader mask from Thingiverse, then scaled it down in Cura and increased the layer height in our impatience. We’ve since experimented with higher-quality prints, and in general print quality from the Ender 3 is very good, especially at this price.
Have a look at the Star Wars coaster set we printed (also from Thingiverse) – it’s incredible what is possible for even novice users.
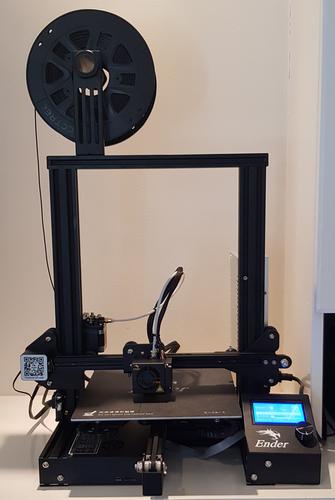
Typically speaking, 3D printing at the highest quality or for large jobs can be a very slow process – and here those print jobs really can be rather large, thanks to a 220x220x250mm bed. But the Ender 3 is pretty swift, heating up fast and reaching a maximum print speed of 180mm/sec. It’s also reassuring to know that it is able to pause and resume prints even after a power cut, which is a luxury usually reserved for more expensive models. Despite its generous build volume the Ender 3 is not oversized, and its one-piece structure allows it to be fairly compact and very sturdy. It stands 46.5cm high, and 44cm wide, and weighs just under 8kg. The microSD card used to load models to the printer is in a rather fiddly location in relation to the position of the print bed, and you’ll likely need to use a USB adaptor (supplied) to copy models from your PC or laptop on to the card. Beside the card slot there’s also a Mini-USB port that allows you to operate the Ender 3 online from a computer, but we stuck to the microSD card for our tests.
The menu system is really easy to navigate, with a single dial that you use to scroll through menus and click to select. During printing the information screen displays various information such as the temperature of the nozzle and heat bed, and the printing coordinates. You can also see here a progress bar and the time taken so far, but you should get a good idea from Cura both how long it will take to print and how many metres of filament it will require. Naturally it’s easier to ensure you have enough plastic before you begin, but changing the plastic is very simple. Our only criticism here is that while you can heat up the new plastic you cannot force the nozzle to extrude it. Marie is Editor in Chief of Tech Advisor and Macworld. A Journalism graduate from the London College of Printing, she’s worked in tech media for more than 17 years, managing our English language, French and Spanish consumer editorial teams and leading on content strategy through Foundry’s transition from print, to digital, to online - and beyond.